Easter Cupcakes

image

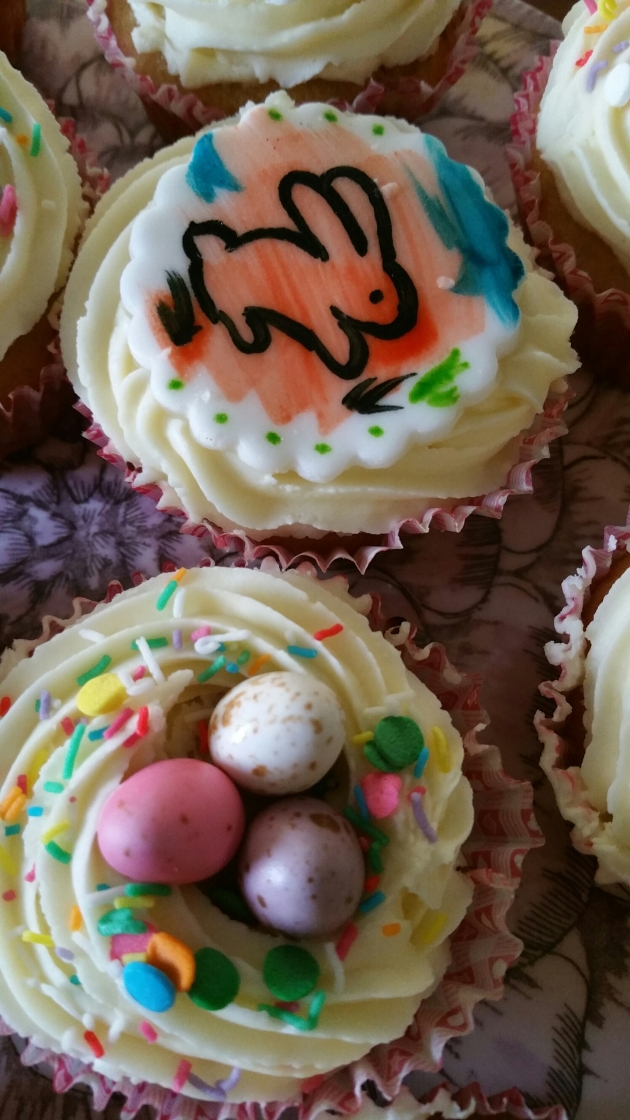
I wasn’t planning on making anything for Easter this year, but someone tagged me in a competition for Easter cupcakes, so I figured why not. Of course, that meant doing something relatively inventive which I wasn’t too sure about. I’d done the cupcake nests before, but since I’d been practicing painting fondant, this seemed like a good idea as well.

image

As per my last post, I painted onto cut out rounds of fondant using gel food colouring diluted in white rum (but vodka or any white spirit would work). I meant for the colours to be more pastel, but didn’t dilute the gel enough I guess. Same with the black, I think because I didn’t mix enough rum in the gel stayed sticky rather than drying. But otherwise everything turned out really well!

image

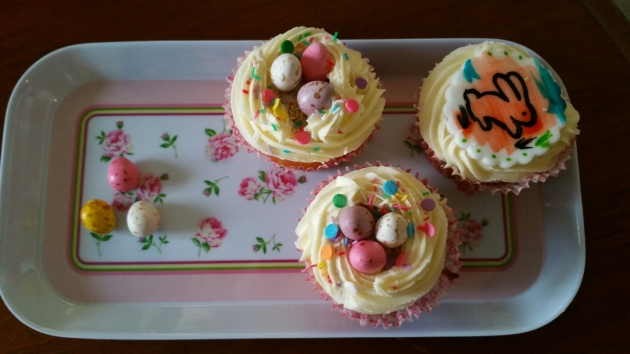
The cupcakes are vanilla with a vanilla buttercream frosting. For the nests, I piped the frosting just on the outside of the cupcake, then filled the hole in the middle with some chocolate eggs.

image

Yay Easter treats!

Nobody Likes You When You’re 23: Blink182 Birthday Cupcakes

image

Back in August, I made some Dillinger Escape Plan cupcakes as an offering to the band at the show. At the time, my friend mentioned in passing that she’d like some Blink182 cupcakes for her birthday. Fast forward to March, and I decided to give it a crack for her 23rd birthday (because as they say, nobody likes you when you’re 23). First off, I cut out circles of rolled out fondant using a round cookie cutter.

image

To make the watercolour effect, I used various gel food colouring mixed with white rum (you can use any white spirit, like vodka). The idea is that the vodka should evaporate, leaving your design to dry. However, it can be tricky getting the colour:alcohol ratio right; too little and the food colouring is too dark, too much and your fondant/whatever you’re painting on can get too wet, even factoring in evaporation. Here I have a teal colouring with a pale pink – I didn’t have a bright pink so it doesn’t 100% match the colours of the actual Blink logo, but that’s okay, I think.

image

Next, I used a smaller round cookie cutter to gently indent the inside of the fondant shapes. This was to guide me when I painted the black outline for the outside of the logo. It worked really well, although it did present a problem when trying to paint the little arrows in the logo which came later.

image

Here they are fully painted! The black never really dried properly, and I think that’s due to not mixing with alcohol enough. I think I was afraid too much ethanol would separate the different colours that make up the black in the food colouring itself. The arrows look a bit dodgy, having that tiny dent made it hard to make the arrows really arrow-shaped, but also I just wasn’t very good at painting on arrows, haha.

image

The cupcakes themselves were a simple vanilla recipe with a buttercream frosting. I was pretty happy overall with the outcome, and excited to do more cupcakes like this!

Heart-Shaped Pinata Cookies

image

Last year one of my pals proposed to his girlfriend, which I don’t think was a big surprise to most people but was lovely all the same. For their engagement party there was a request for no gifts unless they were useful or edible, so I picked the latter because I’m not a useful person, but I love food.

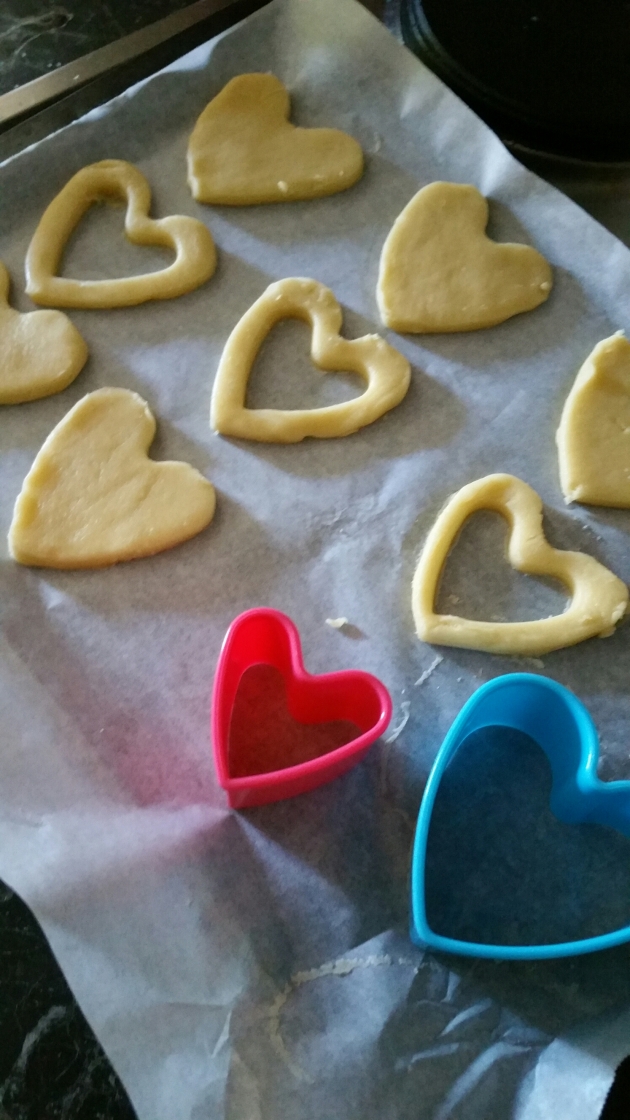
Pinata cookies are something I’ve been wanting to do for awhile, and so I figured this was as good a time as any. I used a simple sugar cookie recipe as the base, with each ‘pinata cookie’ being made up of 3 individual cookies; two medium heart-shaped cookies, with a third medium cookie with the inner portion cut out.
image

I pre-cut the cookies before baking, but I think you’d achieve a more uniform shape if you baked the cookie dough in one massive slab, then very quickly cut out the heart shapes before the dough cooled. I just didn’t want to risk being off with the timing so did it this way.

image

Once baked, I allowed the cookies to cool. In the meantime, I made an icing out of one egg white and as much icing (powdered) sugar as it took to form a thick icing. Getting the consistency right was a bit tricky; too thick and it is too hard to pipe. Too thin and it runs everywhere. It can take a bit of trial and error but you can thicken or thin it out by alternating icing sugar and water until you get the right consistency. I also added some vanilla essence for flavour, and pink food colouring.

When that was done, I put the icing into a plastic ziplock sandwich bag, and carefully cut a small corner off, so I could pipe icing together. Then, using the icing as a glue, I stuck a hollow cookie to a whole cookie, as pictured below.

image

Once that was done, I filled the hollow section with mini M&Ms. I picked out all the pink and red M&Ms and ate all the other colours (that part is really important haha). I think for a dozen pinata cookies I used two bags of family-sized packs of mini M&Ms to get enough red and pink. But obviously you can use whatever/all the colours if you want!

image

After that, it was simply a matter of glueing each pinata shut with a cookie on top as a ‘lid’. I then used the icing to fix on fondant rolled into hearts with messaged stamped into them.

image

Ta-da! Pinata! Above photo is by Chris, who enjoyed the cookies (but also said they were very rich, haha).

image

Also taken by Chris, with their dog Elsa in the background (I think she’s eyeing the cookie pretty hard there).

Enjoy!
New Mixer! And Blackforest Cupcakes

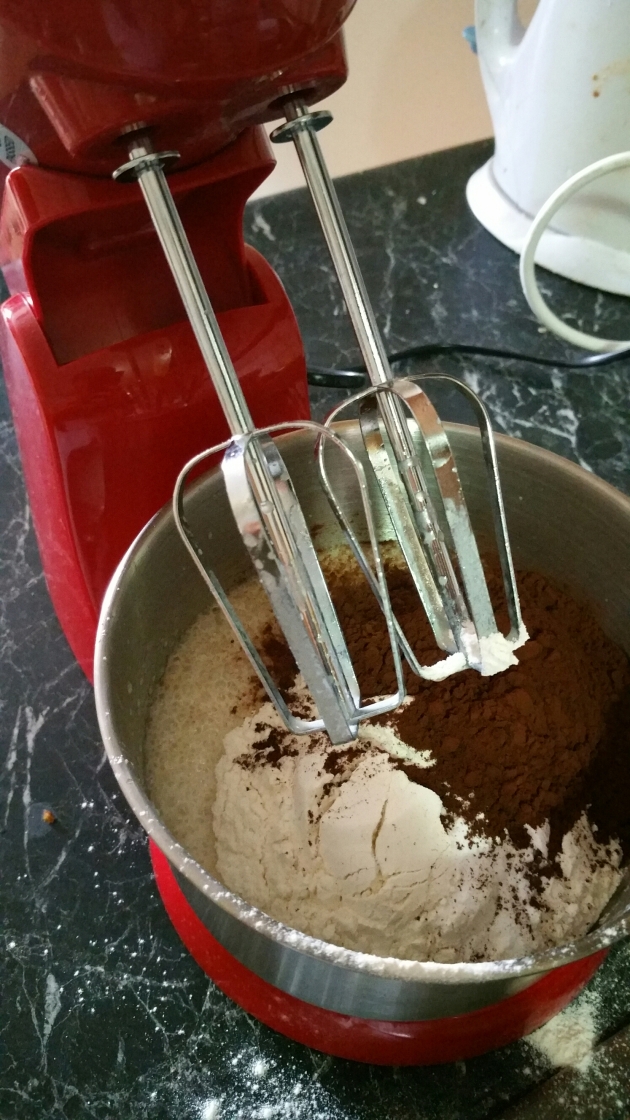
I got my first standing mixer for Christmas from my mum! She’d actually bought it for herself in a sale before deciding it was too small, haha. Classic mum. I don’t mind though because free things!

image

I mean, it’s no KitchenAid, but it’s pretty cute. The mixer is detachable from the stand and also comes with dough hooks; will be interesting to try make some dough with it. The first thing I made with it (pictured here) were some vegan chocolate cupcakes to serve as a base for blackforest cakes.

image

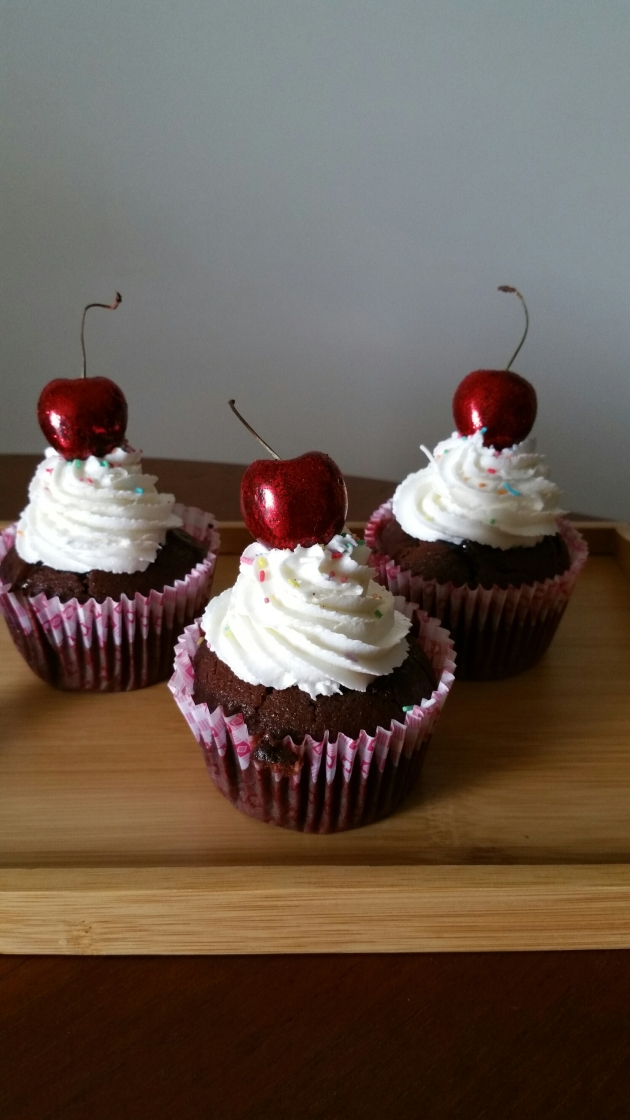
The cupcakes were for a picnic! I had some leftover cherries from Christmas and some cherry jam, so decided to make blackforest cakes – completely forgetting one of my friends can’t stand blackforest! Gah. Oh well.

image

I love glitter cherries!

image

We had a great day eating snacks in the sun and having a great time! Following photo by my lovely friend Paige:

image